The tomato primer
A good tomato year is really a relay of well-timed moves: start the seed indoors at the right week, set it out only once the cold has truly gone, support and prune it for the type it is, then stop it in time to ripen before the first frost. Here is the whole season, start to sauce — with every date anchored to your own frost dates, not a fixed calendar, so it works wherever you garden.
Seed to harvest, timed to your frost dates
The front of the season counts forward from your last spring frost; the end counts backward from your first fall frost. Add your ZIP to translate every step into your own months and see which one is open now.
Every step is timed to your frost dates, so the right week here is a different week elsewhere.
Start seeds indoors
6–8 weeks before last frost
Sow into cells or small pots on a warm windowsill or heat mat (seeds germinate best around 70–80°F). The instant the first true leaves appear, get them under a bright grow light an inch or two above the canopy — windowsill light alone gives you pale, stretched seedlings that never quite recover.
Pot up the seedlings
3–4 weeks before last frost
When roots fill the cell, shift each seedling into a deeper pot and bury it up to the lowest leaves. Tomatoes root along any buried stem, so deep potting builds a bigger root system every time you move them up.
Harden off
1–2 weeks before last frost
Over 7–10 days, set the plants outside for a few hours and bring them back in, lengthening the stay and the sun exposure each day. Skip this and a soft indoor seedling scorches or stalls the moment it hits real wind and sun.
Transplant outdoors
1–3 weeks after last frost
Wait until all frost danger has passed AND the soil has warmed to about 60°F — tomatoes sulk in cold ground. Plant deep, burying two-thirds of the stem (strip the lower leaves first); those buried hairs all become roots. Water in well and set the stake or cage now, before the plant needs it.
First feed and mulch
5–7 weeks after last frost
Once the plant is established and flowering, side-dress with a balanced or slightly potassium-heavy feed and lay down mulch. Mulch is the single best defence against blossom-end rot and splitting because it keeps soil moisture even.
Top the indeterminates
4 weeks before first frost
About a month before your first fall frost, cut out the growing tips of indeterminate vines and pinch off any flowers that won't have time to ripen. This 'stopping' redirects the plant's energy into swelling and ripening the fruit already on the vine instead of starting new ones it can't finish.
Last harvest
0–1 weeks before first frost
Pick everything, including mature green fruit, before the first frost hits — frost-touched tomatoes turn to mush. Ripen the green ones indoors in a paper bag with an apple (the apple's ethylene speeds them along), or fry them green.
Determinate vs indeterminate
This is the one distinction that changes everything downstream — how you stake it, whether you prune it, and whether the crop comes all at once or all season. Check the seed packet, then treat the plant accordingly.
Determinate (bush)
Grows to a fixed size, then sets its whole crop at once.
Habit
Reaches a genetically set height (usually 3–4 ft), flowers at the tips, and stops. The fruit ripens in a tight window over a couple of weeks.
Harvest
One big concentrated flush — ideal when you want a batch to can or sauce all at once.
Pruning
Do NOT prune out suckers. Each sucker carries fruit, so removing them just costs you tomatoes.
Support
A sturdy cage or a short stake is plenty — the plant won't outgrow it.
Best for
Small spaces, containers, and anyone who wants to make sauce in one weekend.
Indeterminate (vining)
Keeps growing and fruiting until frost stops it.
Habit
A true vine — it climbs and lengthens all season, flowering and fruiting continuously from the bottom up. Can easily pass 6–8 ft.
Harvest
A steady trickle of ripe fruit from midsummer right up to frost.
Pruning
Pinch suckers to one or two main stems for bigger fruit, better airflow, and a manageable plant.
Support
Needs serious support — a tall stake, string trellis, or the Florida-weave — and constant tying-in.
Best for
Slicing and salad tomatoes you want fresh off the vine all summer long.
Bed prep and soil composition
Tomatoes are hungry, thirsty, sun-loving plants. Get the bed right before you plant and most of the season’s problems never start.
Full sun, warm soil
Give them 6–8 hours of direct sun and a spot that warms early. Tomatoes do nothing in cold ground — wait for soil near 60°F before transplanting.
Rich, well-drained, slightly acid
They want a deep, fertile loam that drains freely yet holds moisture, at a pH around 6.2–6.8. Work in 2–3 inches of compost or well-rotted manure across the bed before planting.
Feed for fruit, not leaf
Too much nitrogen gives you a jungle of leaves and few tomatoes. Use a balanced base, then shift to a feed higher in phosphorus and potassium once flowering starts to drive fruit.
Even moisture is everything
Deep, regular watering at the soil — not a daily sprinkle — keeps growth steady. The swings between bone-dry and soaked are what cause splitting and blossom-end rot. Mulch to hold it even.
Rotate the bed
Never grow tomatoes where tomatoes, potatoes, peppers, or eggplant grew in the last 2–3 years. Soil-borne blight and wilt build up and wait for the next nightshade.
Plant deep
At transplant, bury two-thirds of the stem (strip the lower leaves first). Every buried hair becomes a root, building the big system that carries the plant through summer heat.
Staking and support
A loaded tomato is heavy and sprawls onto the ground, where fruit rots and disease creeps in. Set the support at planting time — never try to cage a grown plant.
Single stake and tie
Drive a 6–8 ft stake a few inches from the stem at planting time. As the plant grows, tie it loosely every foot with soft twine in a figure-eight (stem in one loop, stake in the other) so the tie never strangles the stem. Best paired with pruning to one or two leaders.
Cage
A wire cage supports the plant without any tying or pruning — you just tuck stray stems back in. Buy or build a tall, sturdy one; the flimsy cone cages topple under a loaded indeterminate. Easiest method for determinates.
Florida weave
For a row of plants: drive a stake between every couple of plants and weave twine down one side of the row and back up the other at each level as they grow. Fast to install and strong — the way market growers support whole beds.
String trellis
Hang a vertical string from an overhead support and clip or wind the growing stem up it. Pairs perfectly with single-leader pruning and makes the most of vertical space in a greenhouse or tall bed.
Pruning and pinching
Pruning is for vining (indeterminate) types only — it concentrates energy into fewer, bigger fruit and keeps air moving through the plant. Leave bush (determinate) tomatoes alone.
Know your suckers
A sucker is the shoot that grows in the 45° crotch between the main stem and a leaf branch. Left alone, every sucker becomes another full stem. Pinch them out with finger and thumb while they are small and soft.
Prune indeterminates, not determinates
Only vining (indeterminate) tomatoes want pruning — take them down to one or two leaders for bigger fruit and airflow. Pruning a determinate just removes fruit it was going to set, so leave bush types alone.
Strip the lower leaves
Once plants are established, remove all leaves on the bottom 12 inches of stem. Those low leaves are how soil-borne blight splashes up onto the plant; clearing them keeps the foliage dry and disease down.
Pinch the top to ripen
Late in the season, cut the growing tip to stop upward growth and force the plant to finish the fruit it already carries instead of starting new clusters that won't ripen before frost.
Companion plants
The right neighbours pull in pollinators, confuse the pests that hunt by scent, and trap aphids away from the fruit. A few are worth keeping well clear.
Plant alongside
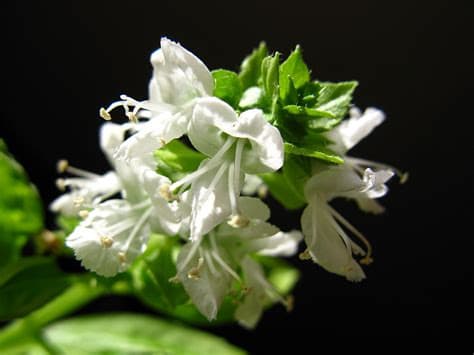
The classic partner — said to improve flavour, and its scent confuses the moths whose larvae become hornworms. Repels whitefly and thrips too.
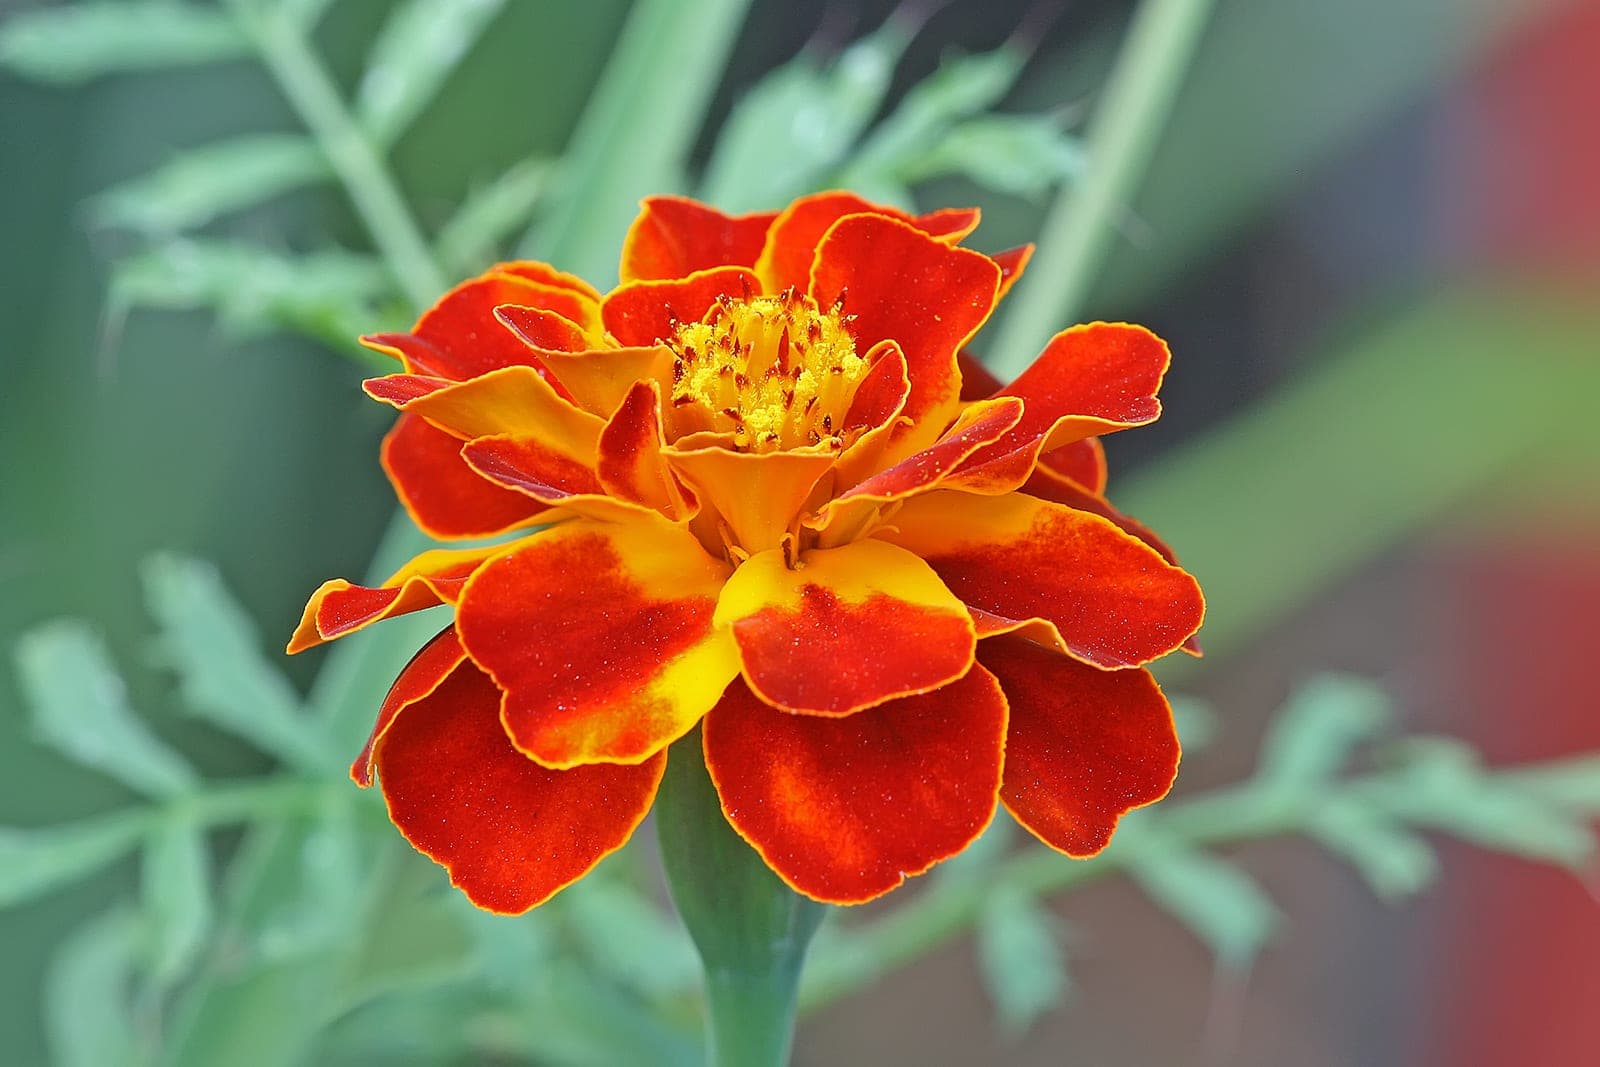
French marigolds suppress root-knot nematodes in the soil and draw in hoverflies that prey on aphids.
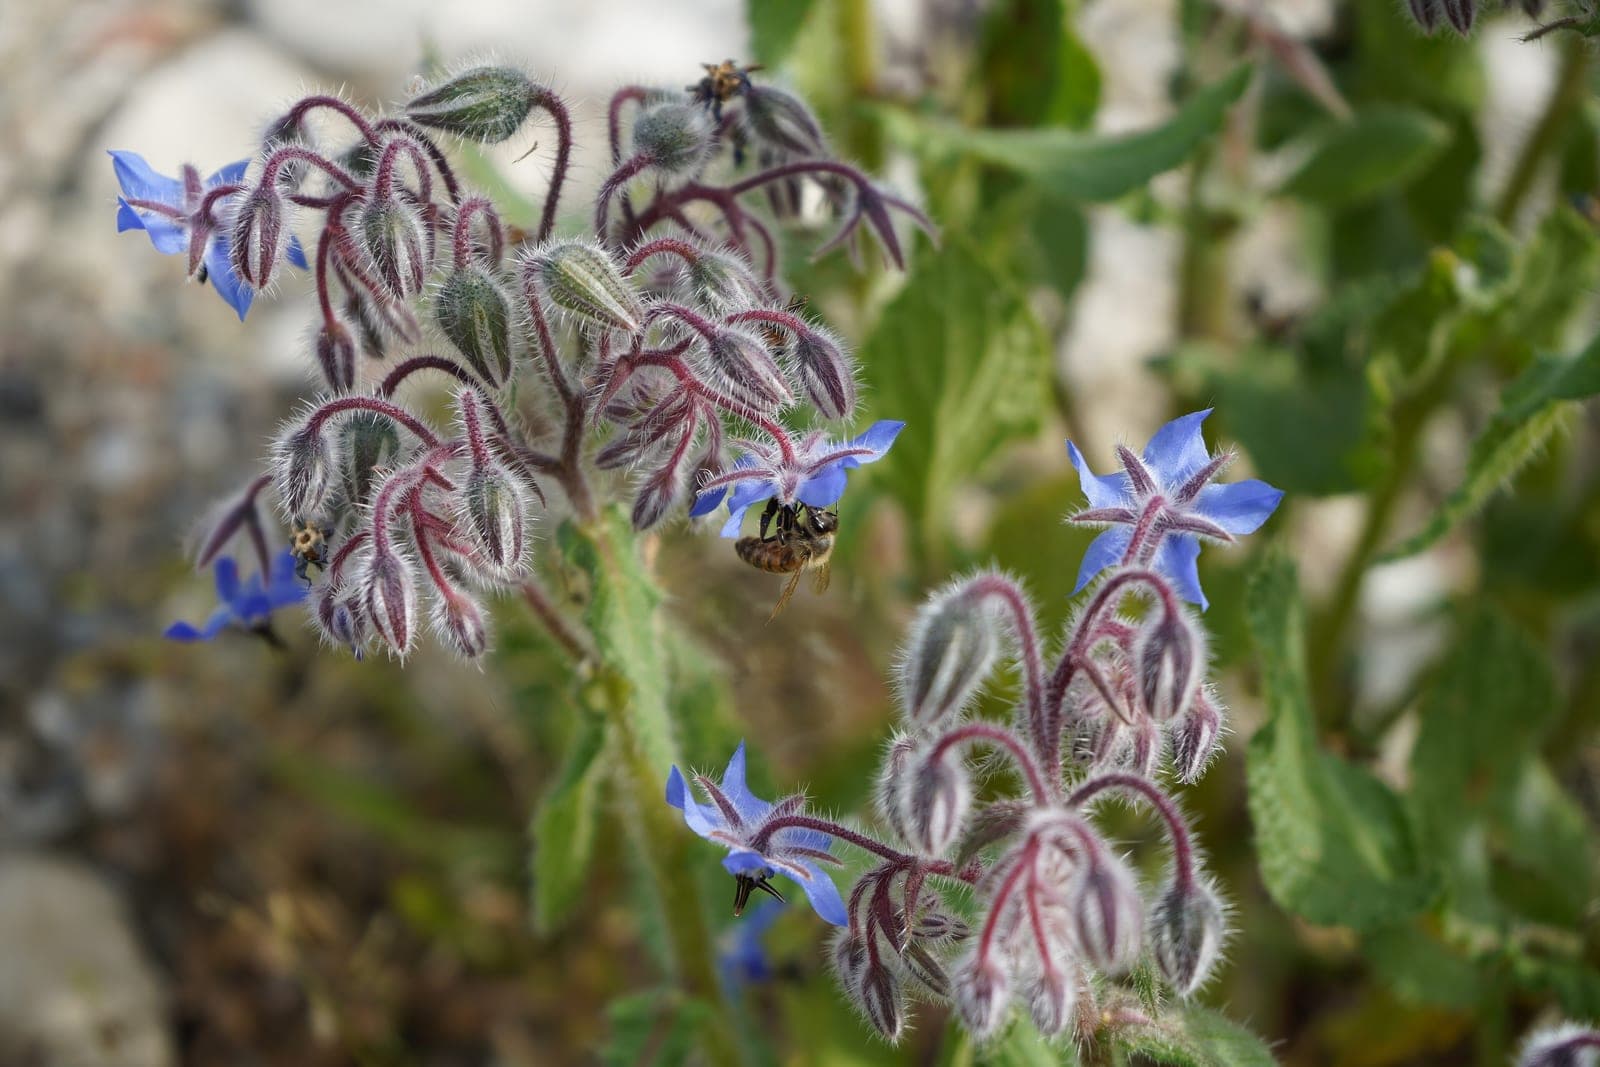
A pollinator magnet that also deters tomato hornworm; its flowers pull in the bees that set your fruit.
A trap and lure crop — its sticky stems catch aphids and it brings in beneficial insects, keeping pressure off the tomatoes.
Use different root depths and pair well below tomatoes; loosen the soil as they grow.
Their oniony scent helps mask the tomatoes from aphids and may deter some beetles.
Keep apart
Brassicas (cabbage, broccoli, kale)
Heavy feeders that compete hard and can stunt tomatoes — keep them in a separate bed.
Fennel
Releases compounds that inhibit the growth of most garden plants, tomatoes included. Give it its own corner.
Potatoes & other nightshades
Same family, same diseases (blight, verticillium) — planting them together lets disease leap between them.
Corn
The corn earworm and the tomato fruitworm are the same pest; planting them together doubles its food supply.
Pests and how to read the damage
Most tomato trouble announces itself — learn the tell and you can act before it spreads.
Tomato hornworm
The tell
Whole branches stripped overnight and dark pellet droppings on the leaves below — the green caterpillar is enormous but perfectly camouflaged.
What to do
Handpick at dusk (a UV flashlight makes them glow). Leave any hornworm studded with white rice-like cocoons — those are parasitic wasp pupae that will hatch and hunt the rest.
Aphids
The tell
Clusters of soft green or black insects on new growth and the undersides of leaves, with sticky honeydew and curling tips.
What to do
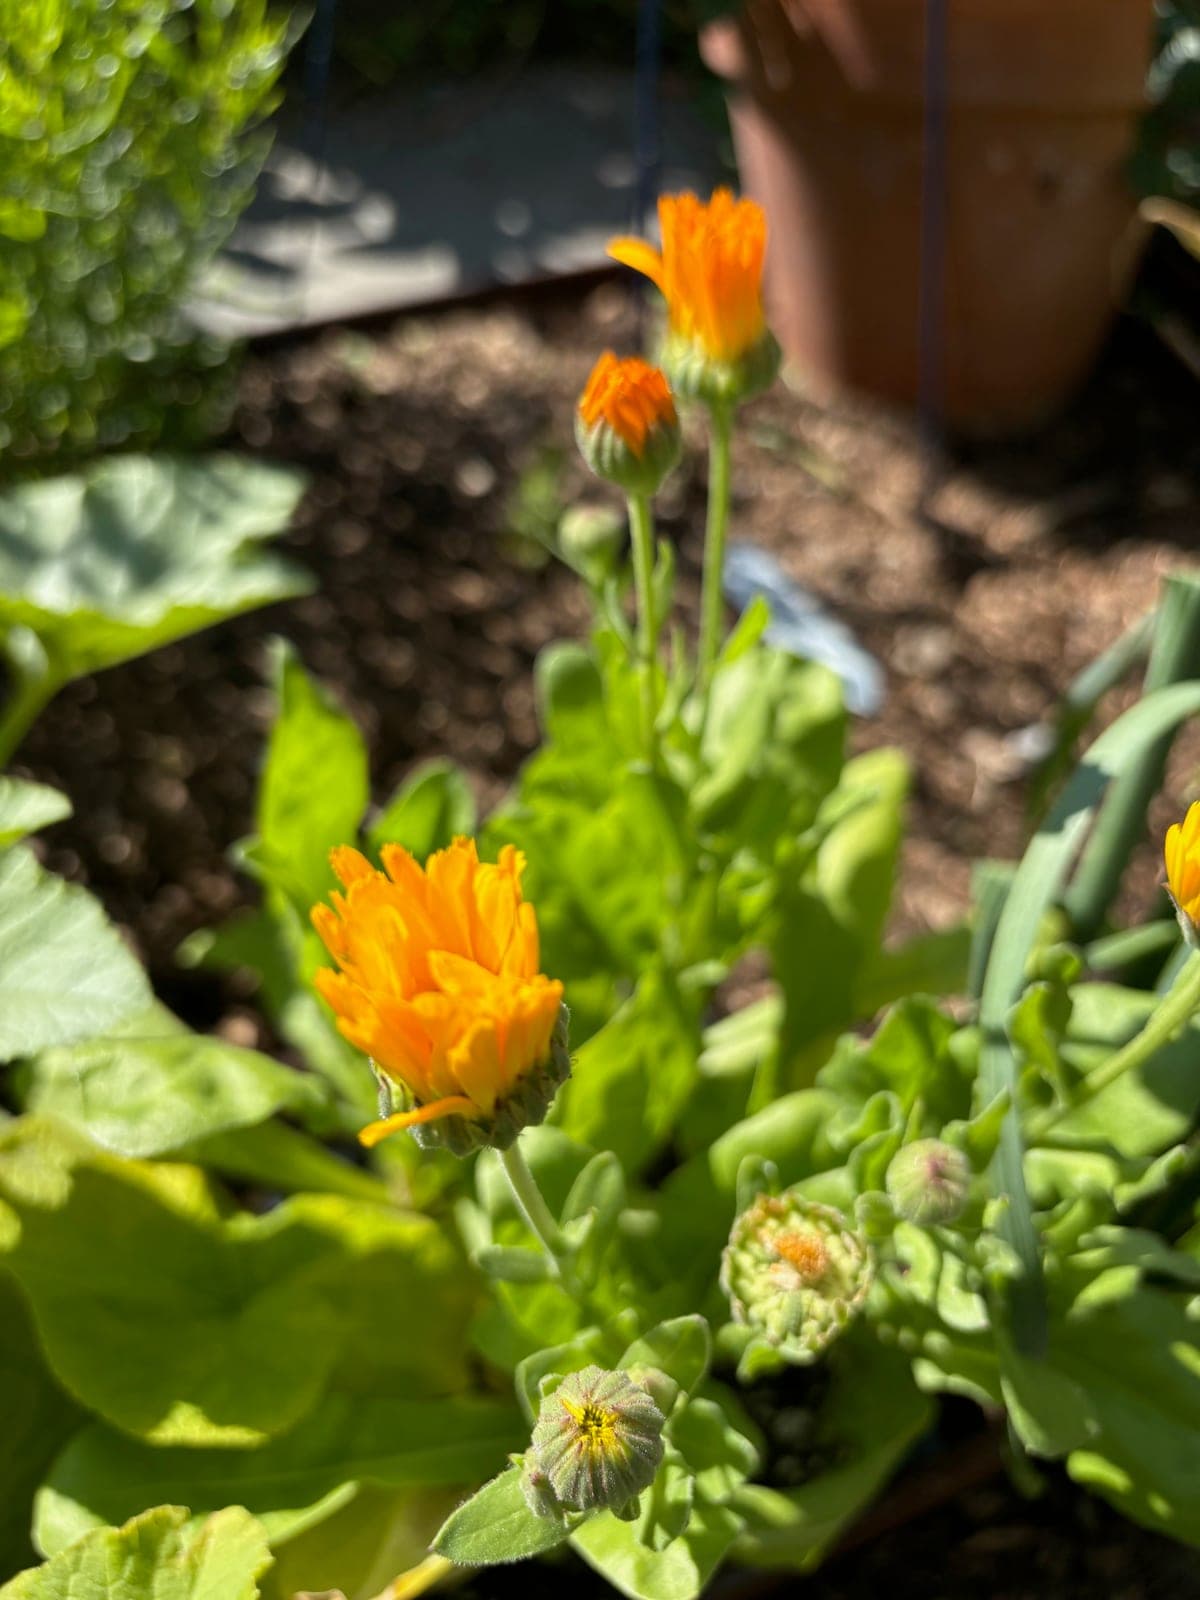
Blast off with a hose, encourage ladybirds and hoverflies, or use insecticidal soap. The calendula and alliums nearby do a lot of this work for you.
Whitefly
The tell
A cloud of tiny white flies lifting off when you brush the plant; sticky leaves and sooty mould follow.
What to do
Yellow sticky traps, insecticidal soap, and interplanted basil and marigold. Hose the undersides of leaves regularly.
Flea beetles
The tell
Tiny black beetles that hop when disturbed, leaving young leaves peppered with pinhole 'shot-hole' damage.
What to do
Row cover over young transplants until they toughen up; a sturdy plant outgrows the damage.
Cutworms
The tell
A young transplant felled at the soil line overnight, the stem clipped clean through.
What to do
Push a collar — a cardboard tube or a nail beside the stem — into the soil around each transplant to block the caterpillar.
Blossom-end rot (not a pest, but blamed on one)
The tell
A sunken black leathery patch on the bottom of the fruit. It is a calcium-uptake problem driven by uneven watering, not an insect or a disease.
What to do
Water evenly and mulch. The calcium is usually already in the soil — it's the erratic moisture that stops the plant moving it into the fruit.
The tricks people swear by
Banana peels, a rusty nail in the hole, eggshells — every gardener has a secret. Here’s which ones actually earn their place and which are charming myths, so you spend your effort where it pays.
Banana peels in the hole
Harmless, marginalBanana peels are rich in potassium, which tomatoes do use to set and ripen fruit. But a whole peel breaks down far too slowly to feed the plant this season, and burying wet scraps can attract diggers. Better: compost the peels first, or use a proper potassium feed at flowering. It won't hurt — it just won't do as much as the legend promises.
A rusty nail in the planting hole
Skip itThe idea is that the nail adds iron. In reality tomato problems are almost never caused by an iron shortage, and the trace that leaches from a nail is negligible and uncontrolled. It's harmless folklore — don't count on it, and never use it instead of fixing soil pH or watering. (Real yellowing is far more often nitrogen, magnesium, or pH.)
Crushed eggshells for calcium
Harmless, marginalSold as a cure for blossom-end rot. Eggshells are calcium, but they break down so slowly they do nothing this season — and the rot is a watering problem, not a calcium shortage. Even moisture and mulch fix it; eggshells don't.
Epsom salts (magnesium)
Skip itA garden-forum favourite, but adding magnesium to soil that isn't actually deficient can block calcium uptake and make blossom-end rot worse. Only worth it if a soil test shows a real magnesium shortage.
Plant deep / plant on its side
Worth doingThis is the folk trick that genuinely works. Burying two-thirds of a leggy stem (or laying it in a trench) makes the whole buried section sprout roots, giving you a far bigger, more drought-resilient root system. Do this every time.
Pinch the suckers, strip the bottom leaves
Worth doingFree and effective for vining types: better airflow, fewer disease splashes, and the plant pours its energy into fewer, bigger fruit instead of endless foliage.
Protecting the crop
Frost at both ends of the season, fierce midsummer sun, and the ever-present threat of blight — a little cover and even watering carries the plant through all of it.
Late spring frost
Even after your average last-frost date a stray cold night can strike. Keep row cover, cloches, or upturned buckets ready and cover transplants whenever a frost is forecast. A wall of water or cloche also lets you set plants out a week or two earlier.
First fall frost
This is the hard stop on the tomato year — it's why the timeline above counts backward from your first frost. Pick all mature fruit before it arrives, or throw row cover over the plants to steal a few more ripening days.
Sun and split
In fierce heat, fruit can scald (pale, papery patches) and skins split after a downpour following a dry spell. Keep some leaf cover over the fruit and — above all — water evenly. Steady moisture prevents both splitting and blossom-end rot.
Blight and disease
Water at the soil, never overhead; mulch to stop soil splashing up; space for airflow; and strip the lower leaves. Rotate where you plant tomatoes each year and never plant them where potatoes just grew — they share blight.
A simple tomato sauce
The whole point of a determinate harvest. No peeling, no fuss — a slow simmer concentrates everything. Makes roughly enough to sauce a couple of pounds of pasta.
You’ll need
- About 3 lb (1.5 kg) ripe tomatoes, any kind — paste types like Roma give the thickest sauce
- 4–6 cloves garlic, sliced
- 1 small onion, finely diced (optional)
- 3–4 tbsp good olive oil
- A small handful of fresh basil
- Salt, and a pinch of sugar if the tomatoes are sharp
Soften the aromatics
Warm the olive oil over medium-low heat and cook the onion gently until soft and translucent, then add the garlic for a minute more — don't let it brown.
Add the tomatoes
Roughly chop the tomatoes (skins and all — they break down) and tip them in with a good pinch of salt. Squash them with a spoon as they heat.
Simmer low and slow
Drop to a bare simmer and cook uncovered for 40–90 minutes, stirring now and then, until it thickens and the oil pools at the edges. The longer it goes, the sweeter and deeper it gets.
Finish
Tear in the basil, taste, and balance with salt and a pinch of sugar if needed. For a smooth sauce, blend or pass through a food mill; for rustic, leave it chunky.
Keep it
Use straight away, refrigerate up to 5 days, or freeze in batches. This is the recipe a determinate tomato's single big flush was made for.
Get every tomato step on time, for your exact zone.
The Garden Digest tier turns this primer into a weekly almanac built around your plant list and frost dates — telling you the week to sow, transplant, feed, and stop your tomatoes, so you hit every step without watching the calendar.
Looking for something?
Let us know and we will add it to the list for your garden plan.