
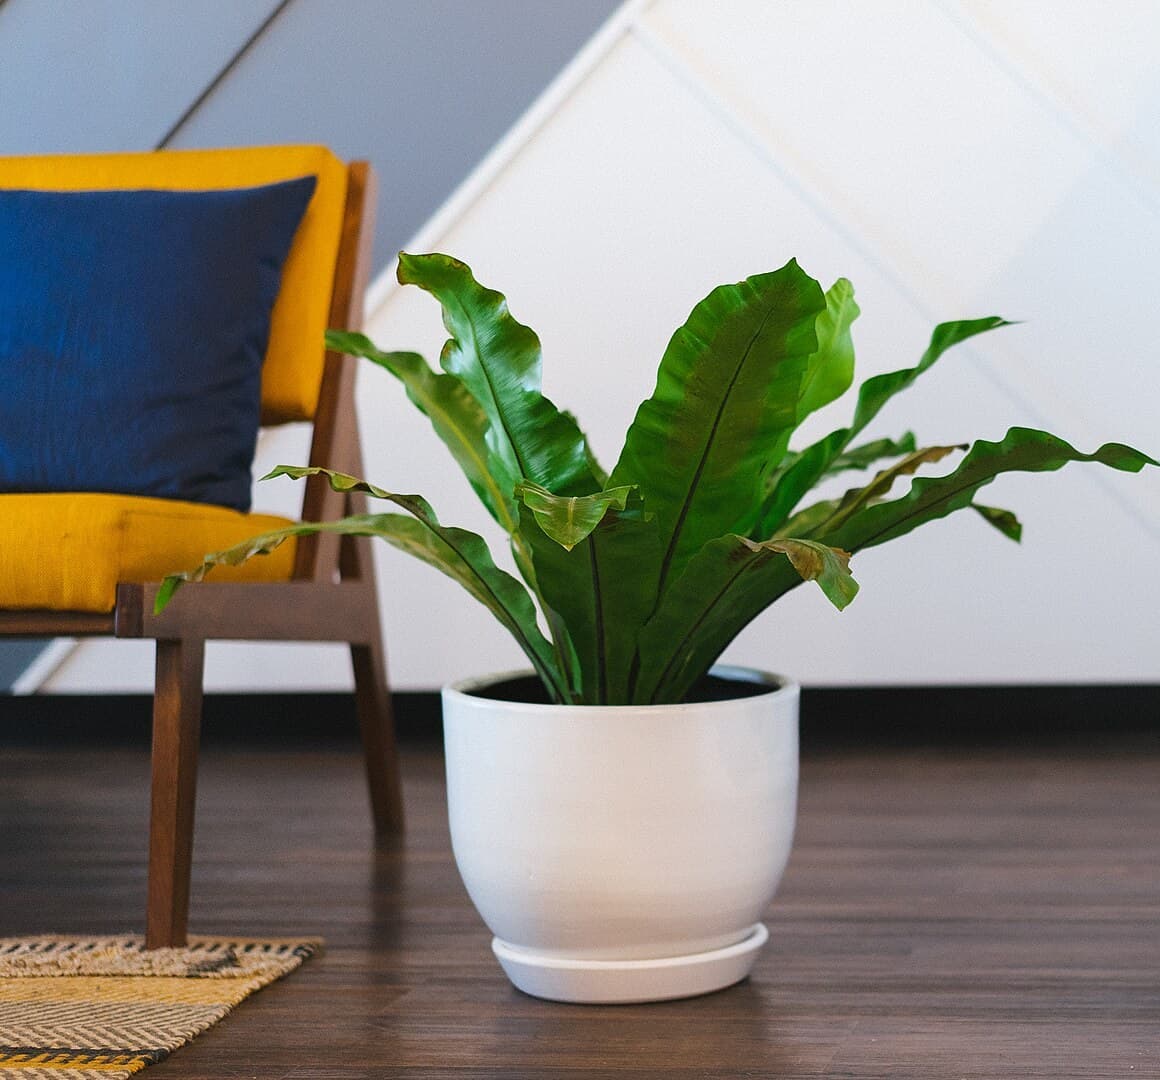
Asplenium nidus is an epiphytic fern native to tropical Southeast Asia, eastern Australia, Hawaii, and eastern Africa, where it grows anchored to trees rather than rooted in ground soil. Indoors, it is grown for its broad, glossy, apple-green fronds that spiral outward from a tight fibrous crown, creating a rosette that genuinely resembles a bird's nest. Compared to most ferns, it is relatively tolerant of indoor conditions, which makes it one of the more approachable ferns for home growers.
The single most common mistake with this plant is watering directly into the central crown. Moisture trapped in that dense rosette causes rot at the growing point, which is usually fatal. Always water around the rim of the pot instead. Humidity is the other limiting factor indoors: in dry air, frond edges turn brown and crispy. A humidifier, a pebble tray with water, or a humid room like a bathroom goes a long way toward keeping the fronds intact. Medium indirect light is the sweet spot; very low light produces narrow, pale fronds, and direct sun scorches and bleaches them.
Bird's nest ferns are slow growers, and they reproduce via spores rather than offsets or cuttings, making home propagation impractical for most people. The fronds are also sensitive to repeated handling, which leaves permanent marks, so it is best placed where it will not be brushed against regularly.
Medium light in practice means bright, indirect light a few feet back from a window, or near a window with a sheer curtain filtering direct rays. Too little light results in narrow, pale fronds and stunted growth; direct sun causes bleached patches and brown scorch lines along the fronds.
Water when the top inch of soil is dry; never let it sit in water
Feed with a diluted balanced houseplant fertiliser
Raise the humidity with a pebble tray or humidifier, or group plants together
Check leaf undersides for spider mites and mealybugs
Repot when roots crowd the pot
Water around the edge of the pot, not into the central rosette, which can rot
Bird's Nest Fern sets spores, not seed.
Slower than seed, and it asks for cleanliness rather than skill. The payoff is numbers - one ripe frond carries more spores than you could ever use. Timings below are estimated for zone 6B.
- 1
Wait for the sori to darken
0–10 weeks before first frost≈ Aug 23 – Nov 1 for youDo this now
Turn a frond over. The spore cases sit in rows along the underside and ripen from pale green through rust to near-black. Green is too early. Once they look dusty and shed at a touch, they are ready - a day either side matters more than the month, and species vary by weeks.
- 2
Collect onto paper
0–10 weeks before first frost≈ Aug 23 – Nov 1 for youDo this now
Cut a ripe frond and lay it face down on white paper somewhere still, out of any draught. Leave it overnight. You want the fine brown dust underneath, not the chaff - tip the sheet and the spores stay put while the debris slides off. Fold them into a paper envelope, cool and dry.
- 3
Sterilise the medium
Any time before sowing
Spores are slow and defenceless, and anything else in the pot will outrun them. Use a soilless mix, peat or coir with perlite, and bake it at 180F for half an hour. Cool it, then moisten. This is the step people skip and the reason most attempts end in mould.
- 4
Surface sow, and give them light
Sow within a few months of collecting
Scatter thinly across the damp surface and leave them uncovered - spores need light to germinate, so burying them ends it. Cover the container to hold humidity and keep it in bright indirect light at 65 to 75F. Mist rather than water.
- 5
Green film first, fronds much later
2 to 4 weeks after sowing
A green film spreads across the surface. That is not a fern yet - it is the prothallus, the gametophyte generation, carrying both sets of organs. Fertilisation needs a film of water for the sperm to swim through, so the surface has to stay damp through this stage or nothing crosses.
- 6
Prick out at an inch
Roughly 2 to 4 months after sowing
True fronds push up through the green mat. When a clump reaches about an inch, lift it with a fork into its own small pot. Hold the humidity another month, then open the cover a little at a time - dry air kills more sporelings than anything else.
- 7
Move them outside
2–8 weeks after last frost≈ Apr 24 – Jun 5 for you
Into shade and damp ground once several true fronds are up. A first-year sporeling is small enough to lose under a leaf, so give it somewhere you will remember to look.
Sporelings resent drying out far more than being crowded. When in doubt, leave the cover on longer.